Windows 365 Installation & Activation Guide
Complete guide from download to activation | For Windows 10/11
Step 1: Download the Office 365 Official Image Installer
1
Click to download the Office 365 official image installer
Please click the button below to download the Office 365 official image installer:
Download Office 365 Official Image Installer Now Watch video tutorial-After installation
Security Tip: Please make sure to obtain the download link from official or trusted sources
2
Wait for the download to finish
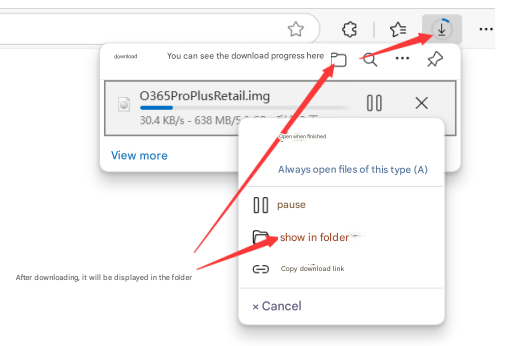
Check the progress in your browser’s download manager:
After the download is complete, select "Show in folder"
Step 2: Extract the Installation Files
3
Extract files
If the system doesn’t automatically mount it:
- Install 7-zip
- Right-click the downloaded file and choose:
- "Mount" (if available)
- or "Extract to current folder"
Step 3: Install Office
4
Run the installer
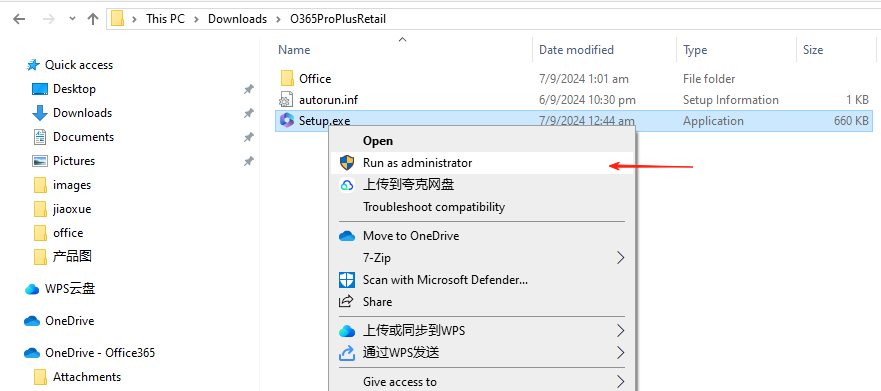
Open the extracted folder and run the installer:
Note: The installation process may take 15–30 minutes. Please stay connected to the internet.
5
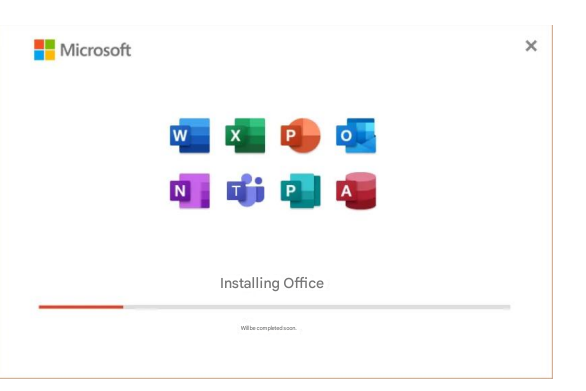
Wait for installation to complete
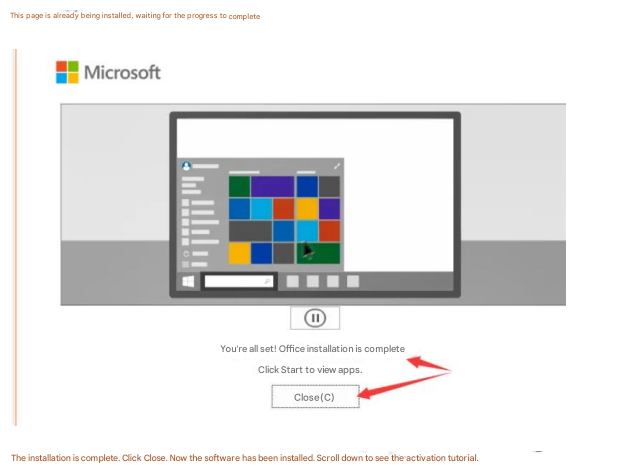
The following screen indicates successful installation:
Click the "Close" button to finish the installation
Step 4: Activate Office
6
Sign in to Office account
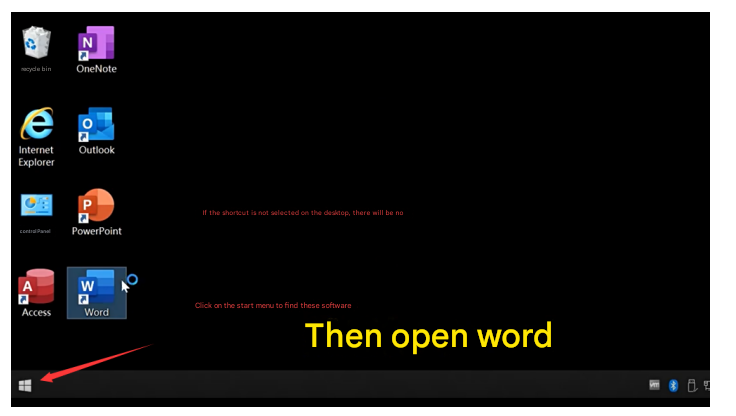

Open any Office app (such as Word):
- Click the "Sign in" button
- Enter your account
- Copy and paste the provided password
7
Change password (first sign-in)
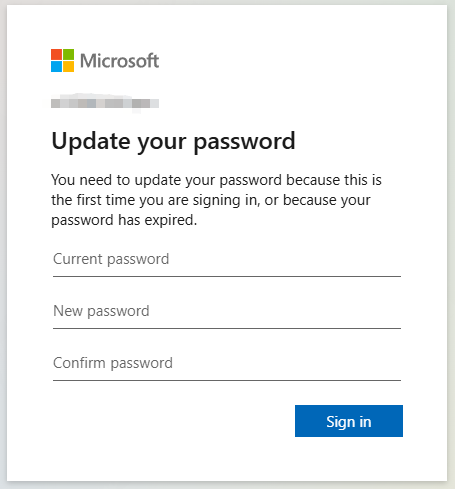
Set a new password as required:
Password requirements:
- At least 8 characters
- Include uppercase and lowercase letters and numbers
- Must not be the same as the old password
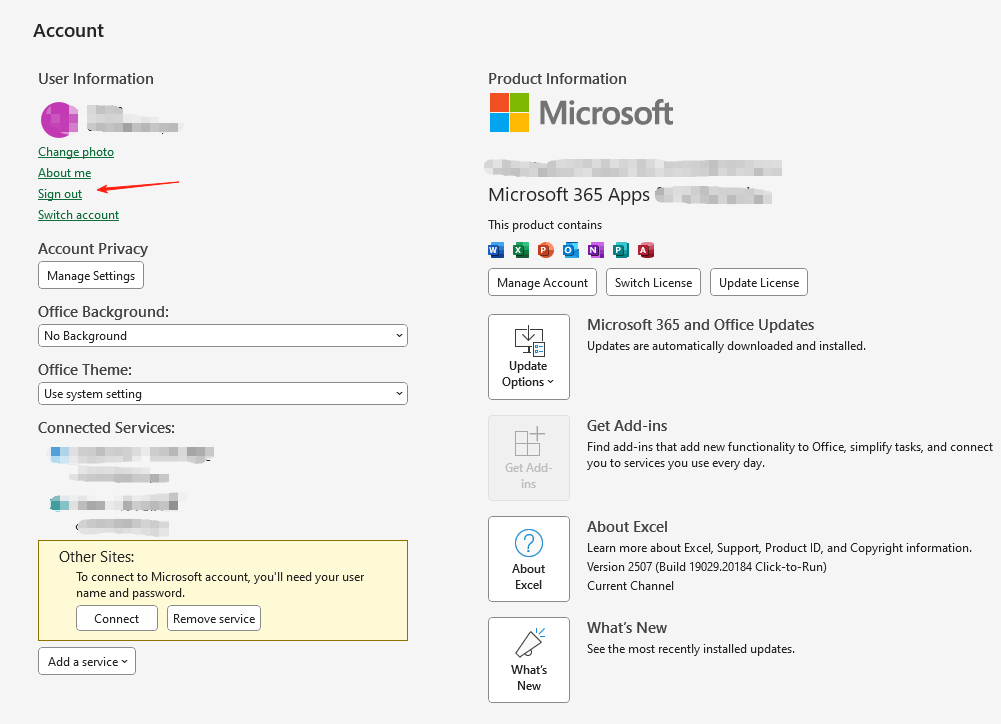
8
Complete activation
Click "File" → "Account", it should display:
- Product name: Microsoft 365
- Activation status: Activated
WhatsApp Chat